Edit Photos with One Click by Scanning QR Code
In today’s digital world, photo editing has become an essential part of social media, branding, marketing, and personal expression. Whether you are an influencer, a content creator, a business owner, or just someone who loves sharing moments online, high-quality and well-edited photos make a big difference. However, not everyone has the time or skills to manually adjust brightness, contrast, color grading, filters, and other editing settings.
This is where the concept of editing photos with one click by scanning a QR code comes in. It is a modern, smart, and time-saving solution that allows users to apply professional photo editing presets instantly. With just one scan and one tap, your ordinary image can turn into a stylish, aesthetic, or cinematic masterpiece.
What Does “Edit Photos with One Click by Scanning QR Code” Mean?
Editing photos with a QR code means using a pre-designed preset or editing style that is stored in a QR format. When you scan the QR code inside a supported photo editing app, it automatically loads all the editing settings such as:
Exposure
Contrast
Saturation
Highlights and Shadows
Color grading
Filters
Tone curves
Effects and sharpness
Instead of manually adjusting each setting, the QR code applies everything instantly. This process saves time and ensures professional-level results.
Many popular editing apps support QR preset sharing. For example:
Adobe Lightroom
PicsArt
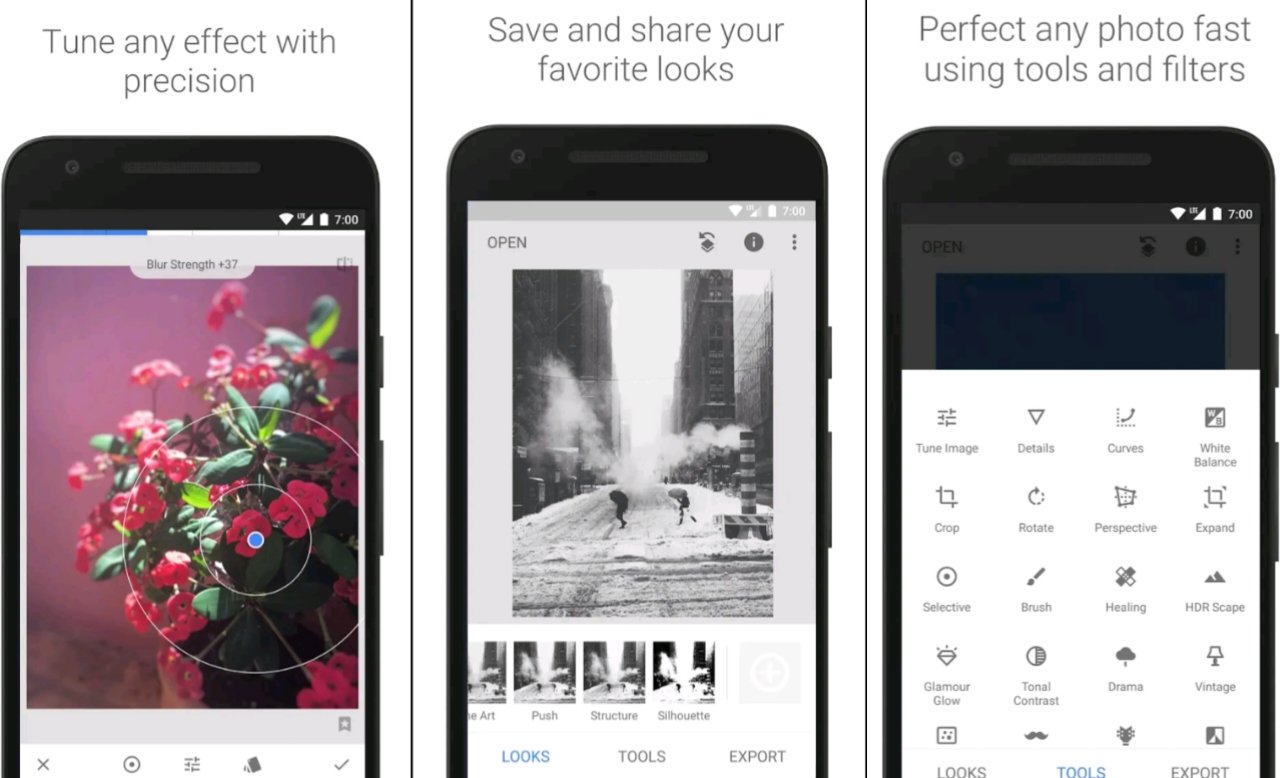
Snapseed
These apps allow users to create, export, and share preset settings through QR codes or similar sharing systems.
How QR Code Photo Editing Works
The process is simple and beginner-friendly. Here’s how it usually works:
Step 1: Download a Photo Editing App
Install a professional editing app like Adobe Lightroom or any app that supports QR preset scanning.
Step 2: Get a QR Preset Code
You can find QR presets on social media platforms, photography groups, or websites where creators share free and premium editing styles.
Step 3: Scan the QR Code
Open the editing app, go to the preset section, and use the QR scan option. Point your camera toward the QR code.
Step 4: Apply the Preset
Once scanned, the preset loads automatically. Tap apply, and your photo transforms instantly.
Step 5: Fine-Tune (Optional)
Although it’s one-click editing, you can still make small adjustments based on lighting or skin tone.
This whole process takes less than a minute.
Benefits of Editing Photos via QR Code
- Time-Saving
Manual editing can take 10–20 minutes per photo. With QR presets, editing takes seconds.
- Professional Results
Most QR presets are created by experienced editors who understand color grading and lighting adjustments.
- Consistent Theme
If you are managing an Instagram or Facebook page, consistency is important. QR presets help maintain the same tone across all photos.
- Beginner-Friendly
You don’t need technical knowledge about curves, HSL, or color balance. Just scan and apply.
- Shareable and Portable
QR codes are easy to share via WhatsApp, social media, or websites.
Popular QR Preset Styles
Different QR presets are designed for different moods and aesthetics. Some popular styles include:
Cinematic Look
Dark shadows
Warm highlights
High contrast
Movie-style tone
Bright & Airy
High exposure
Soft whites
Natural skin tones
Moody Black & White
Strong contrast
Dramatic lighting
Artistic vibe
Vintage Tone
Faded colors
Grain effect
Warm yellow tint
Instagram Influencer Style
Smooth skin
Vibrant colors
Balanced contrast
Each preset is encoded into a QR code, making it super easy to apply.
Social media platforms like:
TikTok
have increased the demand for fast and attractive photo editing. Influencers often share their presets as QR codes so followers can achieve the same look instantly.
This trend is especially popular among:
Travel bloggers
Fashion influencers
Wedding photographers
Food content creators
YouTubers
Instead of selling expensive editing courses, creators now share QR presets for quick results.
Example: Lightroom QR Code Editing
- Open the preset section.
- Tap the three dots menu.
- Choose “Scan QR Code.”
- Point the camera at the preset QR.
- Instantly apply professional color grading.
Lightroom QR codes became extremely popular because they maintain high-quality editing without reducing image resolution.
Advantages for Content Creators
If you are a content creator, QR code editing can help you:
Edit large batches of photos quickly
Maintain a unique brand identity
Improve engagement with high-quality visuals
Save editing time for other tasks
For example, a travel blogger can use one preset for all outdoor shots, while a fashion influencer can use another preset for indoor portraits.
Free vs Paid QR Presets
There are two main types of QR presets:
Free Presets
Available on social media
Good for beginners
Limited customization
Premium Presets
Created by professional editors
Advanced color grading
Better skin tone balance
Optimized for different lighting conditions
Premium presets often cost money, but they deliver higher-quality and more refined results.
Safety and Important Tips
While QR code editing is convenient, users should keep these points in mind:
- Download presets from trusted sources.
- Avoid unknown APK files claiming “unlocked presets.”
- Use official apps from trusted platforms.
- Always adjust slightly depending on lighting conditions.
Different photos have different lighting, so one preset may not work perfectly on every image.
Future of QR Code Photo Editing
QR code photo editing represents the future of smart, automated editing. As artificial intelligence improves, QR presets may become even more advanced by:
Automatically detecting skin tone
Adjusting brightness based on environment
Enhancing background and subject separately
Reducing noise instantly
We may soon see AI-powered QR presets that automatically adapt to each image instead of applying fixed settings.
Who Should Use QR Code Editing?
This method is ideal for:
Beginners who don’t know advanced editing
Social media users
Influencers
Small business owners
Online sellers
Photography learners
It provides fast, stylish results without technical complexity.
DOWNLOAD
Conclusion
Editing photos with one click by scanning a QR code is a revolutionary and time-saving approach in the world of digital photography. It eliminates complicated manual adjustments and allows anyone to achieve professional-quality results instantly. By simply scanning a QR code inside apps like Adobe Lightroom, users can apply stunning presets that transform their photos within seconds.
This method is perfect for today’s fast-paced social media environment where speed, consistency, and visual appeal matter the most. Whether you want a cinematic effect, bright Instagram vibe, vintage tone, or professional color grading, QR presets make it possible with just one click.
As technology continues to evolve, QR-based editing will likely become even smarter, faster, and more personalized — making professional photo editing accessible to everyone.